


'Inspirations for Colour Wheel project'
Next, we were given some time to brainstorm and come out with 40 ideas for installation and each of us need to come out 10 idea. We googled a lot of it and manage to come up some of own ideas as well but all of us knew that we wanted to make our project to be interactive so that all our classmates manage to bond with us! Right after a week, we choose to install a galaxy themed party with and all of the 9 planets piñatas to play with. Right away, Ms Fu told us that we have to make mock up of the planes, the scales, details and much more which will cost us a lot of time and money too. If we still want to proceed the idea, we must make sure that the scale is right and also, make it fun as this kind of installation has been done by other people before..
We sat back, took a few days more to get some inspiration and FINALLY, we thought of one thing, FOOD. Since all of us likes food that much, why not food installation based on Colour Wheel? We googled how does this art installation thing works and after we spent several hours of research, we decided that we want to make a ' Hanging Food Art Installation' which we use the Colour Wheel as the inspiration. We also design a game before someone take any of the food we hung at the back of the class and believe me, it was kinda hard and this is because Ms Fu wants us to make it hard to play!


First, we make some codes for the foods we hung on and later the decoder need to break it, but before breaking it, the decoder need to hung a pencil at his back into a tiny water bottle first! Later, he's going to decode it and pass the code the the ' deaf ' which their sense of hearing is blocked by loud musics. Once the ' deaf ' got it, he or she need to pass the code to the ' mute '. We have to make sure that their mouth is closed and later pass the code again to the ' blind '. Once the ' blind ' got it, he or she need to walk over to the finder, blindfolded and later the finder need to spin for about 10 times to look for the food which the' blind' has the given the code to. The motif we designed this game is to be cooperative, to bond each other and most of all, to heighten their senses which sometimes we take for granted everyday..

Ideations
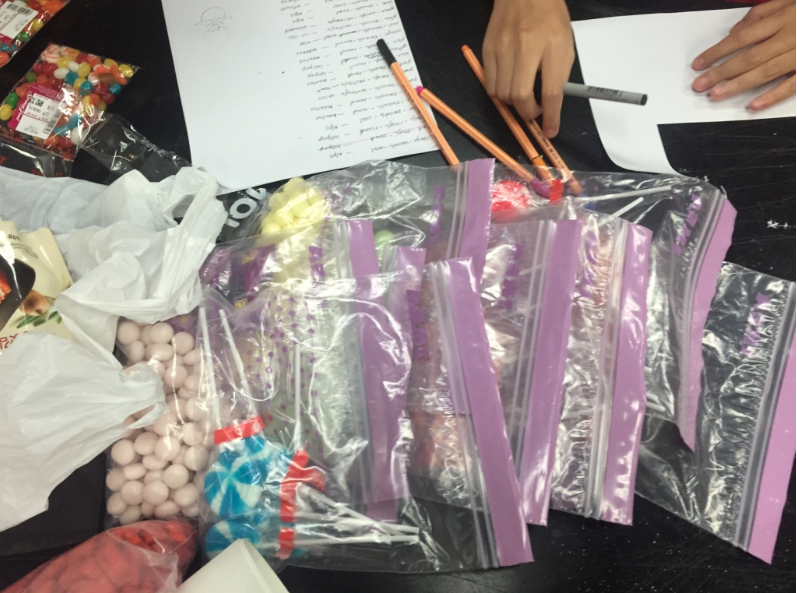
Preparing the food!

This two nuts...


Presentation Day!!!


